Soap making is very simple and fun. You might become addicted to it, like me, and have to start selling your product, or you will end up with a huge box of finished soap in your basement, like mine. I don't know that I will ever, in this lifetime, be able to use all of the soap I have, even with 8 grubby farm children.
I'm sure you all know that the skin is your largest organ. Everything it contacts is absorbed by your body. That is why you should always start with the best soaping ingredients you can find. I use organic, non-hydrogenated, preservative/additive free and cold-pressed to preserve the nutritive value. NEVER use vegetable oils other than coconut and olive oil. They are all extremely processed, with additives and preservatives and chemical residues from the processing. Whatever oils you use, your bars will be greatly superior to factory soap, as the factory removes the glycerin to sell as a byproduct, because of its commercial value in other industries. Glycerin is very soothing to your skin and will be retained in your homemade soaps.
Always use stainless steel or glass receptacles and utensils, as lye is very corrosive. Use a food scale to accurately measure your ingredients. This is a wonderful lye calculator to use.
Here is a great, basic recipe to start with. Then, find your favorite oils, learn their sap values, and invent your own recipes. I'll share more of my favorites over time, along with my favortie lotion recipes. This recipe is a small batch of soap, and more easily managed. Plus, you'll try this one and certainly want to immediately try another, with a different essential oil, so small batches will probably be right up your alley.
24 oz olive oil
24 oz coconut oil
38 oz tallow (beef fat)
12 oz lye
32 oz liquid (either milk or water, I use raw goat milk because I have it on hand and it imparts extra skin-nourishing minerals to the soap)
1. Measure oils into a large pan and melt them together over low heat.


2. Measure your lye into a large glass jar. I like old pickle jars, obviously.:)
3. Add the lye, slowly to the slushy milk. NEVER add the liquid to the lye, it could explode! Having the milk partially frozen helps the chemical reaction to take place more slowly, which keeps your milk from curdling. The milk will turn yellow as the reaction occurs.


4. Get your soap mold ready. I usually just line a shoebox or two with a plastic garbage bag, and staple it into place. You will want your soap to be smooth, so smooth the garbage bag nicely and make tidy hospital corners.


5. Pour the lye/milk mixture very slowly and smoothly (no splashes!) into the oils while your helper gently agitates the oils. Stir gently to expose all of the lye to the oil, allowing saponification to take place. Remember that lye is caustic and be safe.

6. Stir your soap until it "traces." I forgot to take a picture of this step, but it is simple. Occasionally, just lift the utensil out of the soap and let it drip on the top surface. Tracing is when the drips remain visible, instead of just blending back into the mass. Once your soap traces, add several drops of your favorite essential oil, if desired. Then pour the soap into your prepared molds and put them into your cooler for three days. I didn't get a picture of this step easier because my soap had an unusual reaction and I had to panic for a minute. It turned out well, though. You leave the soap in the cooler because the lye takes that long to fully react with all of the oils. It gets hot in that cooler. Don't check, though, just trust me. Leave the heat in and let your soap fully process.


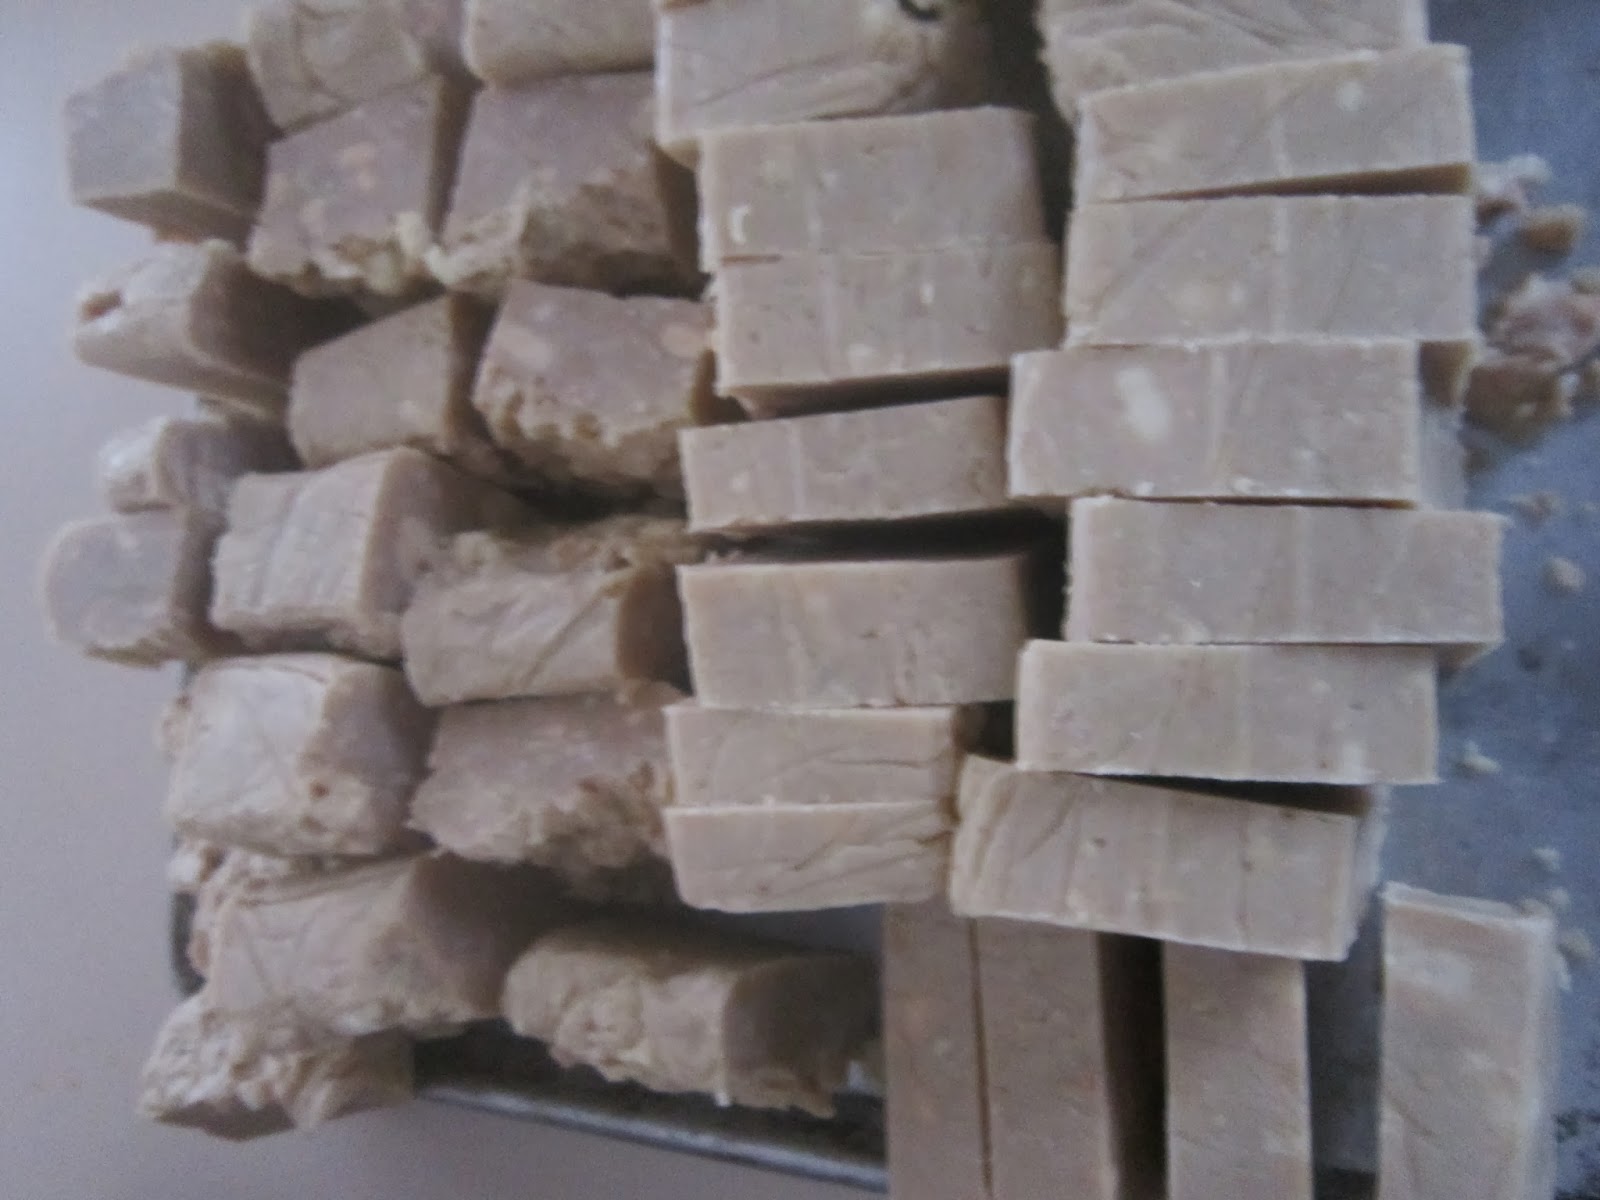
7. After 3 days, dump your soap out of the shoebox mold and cut it up! The smaller bars in the second picture below were made in a silicone soap mold. I prefer the larger bars, though. We made lavender soap, cranberry soap, and oatmeal, milk & honey soap. Place the soap in an out-of-the way place and let it cure for three weeks. The longer it cures, the better it gets. I have some seven year old bars that last forever, even through my kids' soggy baths, because they have cured so long.


Feel free to leave any questions!
1 comment:
AAAAaaaaahh!! I didn't even know you had a blog! We are SO lucky to have this info! I'm excited! This makes me want to make soap.....and I wasn't even thinking about it before I read this! :) Looks awesome and your instructions are so clear and simple!
Post a Comment